What Nobody Tells You About the First Six Months of 3D Printing Ownership
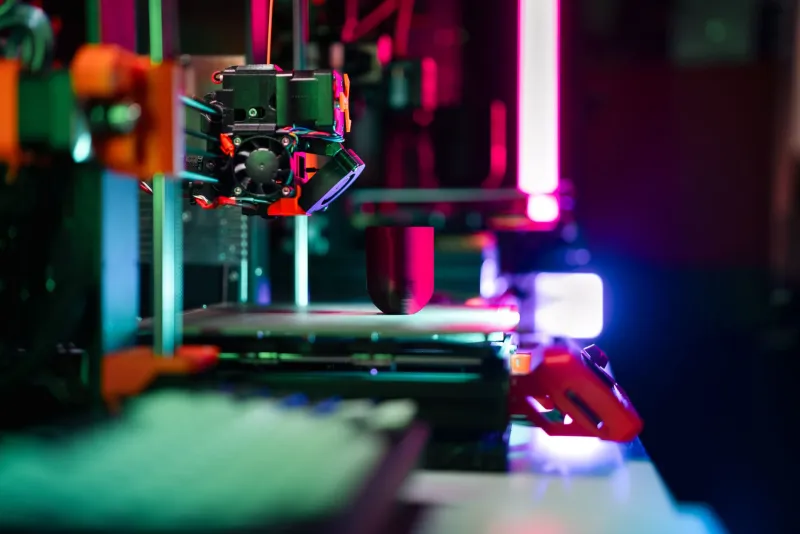
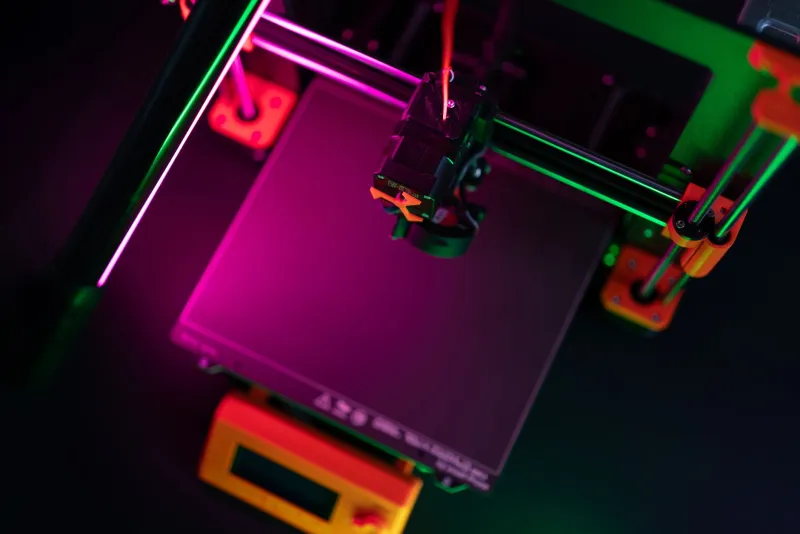
There's a moment every new 3D printer owner knows well. You've unboxed the machine, leveled the bed about four times, queued up your first print, and walked away feeling like a genius. Then you come back an hour later to a spaghetti mess of filament stuck to nothing, a nozzle clogged beyond recognition, and a quiet, creeping sense that maybe you underestimated this hobby.
Welcome to the learning curve. It's real, it costs money, and almost nobody budgets for it.
This isn't a scare piece. 3D printing is absolutely worth the investment for the right person. But if you're planning to buy a printer and immediately offset the cost through projects, prototypes, or small-scale production, you need to go in with a realistic financial picture. Let's break it down.
The Printer Price Is Just the Ticket to the Show
A solid entry-level FDM printer—something like a Bambu Lab A1 Mini or a Creality Ender-style machine—runs anywhere from $200 to $500. That feels manageable. What doesn't show up on the product page is the ecosystem of stuff you'll need within the first month.
A basic starter kit for a new FDM owner realistically includes:
- Extra nozzles ($10–$30 for a pack): You will clog a nozzle. Probably more than one.
- Bed adhesion products ($10–$20): Glue sticks, PEI sheets, or hairspray. Yes, hairspray.
- Test filament rolls ($20–$30 each): You'll burn through a spool or two on calibration prints before you run anything meaningful.
- Basic tools ($20–$50): Flush cutters, spatulas, calipers, and a heat gun make a massive difference early on.
- Replacement parts ($15–$40): Depending on your machine, you may need a new thermistor, PTFE tube, or extruder arm before the first month is out.
Conservatively, add $100–$200 to whatever the printer costs. That's your real Day One investment.
The Filament Math Nobody Does Upfront
Filament seems cheap until you start calculating waste. A 1kg spool of standard PLA runs $20–$30. Sounds fine. But factor in failed prints.
In the early months, a 20–30% failure rate is completely normal. That means roughly one in four or five prints doesn't finish—whether due to bed adhesion issues, layer shifting, stringing, or just plain wrong settings. If you're printing complex or long-duration jobs, those failures get expensive fast.
A 10-hour print that fails at hour 7 doesn't just waste time. At typical filament consumption rates for a medium-complexity part, that could represent $4–$8 of material gone. Run a few of those per week while you're learning, and you're looking at $30–$60 a month in wasted material alone.
Over six months, that adds up to $180–$360 before you've produced a single successful finished product. Budget for it.
Time Is a Real Cost Too
This one's harder to quantify but impossible to ignore, especially if you're a maker running any kind of side business or freelance operation.
Learning to use slicer software—Bambu Studio, Cura, PrusaSlicer—takes time. Dialing in support structures, infill patterns, and print speeds for different materials isn't intuitive at first. Most people spend 5–10 hours per week in their first month just troubleshooting and learning settings.
If your time is worth $25/hour (a conservative freelancer rate), that's $500–$1,000 of time invested in the first month alone. You won't earn that back immediately. The payoff comes later, once you're printing efficiently and producing work that replaces outsourced costs or generates revenue. But it's not instant.
The Material Expansion Trap
PLA is forgiving. PETG is trickier. ABS is a whole different conversation, and flexible TPU will test your patience in ways you didn't expect. The problem is that most projects eventually demand materials beyond basic PLA, and each new filament type has its own learning curve.
Switching to PETG might mean reprinting calibration cubes, adjusting temperature profiles, and dealing with stringing issues for a week before your settings click. Trying ABS without an enclosure? Budget for warping failures and potentially a $50–$150 enclosure purchase.
Each material expansion costs roughly $30–$80 in filament and lost prints before you're printing it reliably. Plan for at least two or three material experiments in your first year.
When Does It Actually Pay Off?
This depends entirely on what you're making. Here's a rough framework:
Hobbyist/personal use: You'll hit a satisfaction break-even—where the stuff you're making feels worth what you've spent—around month 3 to 6, once failure rates drop and you're producing consistent results.
Replacement parts and home repairs: If you're printing jigs, brackets, and replacement components, you can start offsetting costs pretty quickly. A single custom bracket that would cost $40 to outsource, printed for $1.50 in filament, adds up fast.
Small production or side business: Realistically, budget 6–12 months before you're printing efficiently enough to turn a meaningful profit. The learning investment is real, but the ceiling is high once you're past it.
Budget Like a Pro, Not Like a Dreamer
Here's a realistic first-year cost estimate for a serious hobbyist starting from scratch:
| Category | Low Estimate | High Estimate |
|---|---|---|
| Printer | $250 | $600 |
| Starter accessories | $100 | $200 |
| Filament (including waste) | $200 | $500 |
| Replacement parts | $50 | $150 |
| Additional materials/experiments | $60 | $200 |
| Total Year One | $660 | $1,650 |
That range is wide because your habits, project complexity, and machine choice matter enormously. But the bottom line is the same: don't buy a $300 printer and expect it to pay for itself in three months. Plan for a real investment window, and you'll be far less frustrated when the learning curve shows up—because it absolutely will.
The makers who stick with 3D printing and actually build something meaningful with it aren't the ones who avoided the learning curve. They're the ones who budgeted for it, stayed curious through the failed prints, and came out the other side knowing their machine inside and out. That knowledge is worth every clogged nozzle.